Working in the Terminal
Every claude, codex, kimi, shell, and SSH session in vord runs in a real terminal, not a chat window pretending to be one. This page covers the parts of that terminal you’ll actually touch: finding text, copying it back out cleanly, what happens when you resize, and a couple of small fixes for things a bare terminal gets wrong.
It’s a real terminal
Section titled “It’s a real terminal”Underneath the tile chrome, vord runs a genuine PTY per session (via a SwiftTerm fork), so anything that writes to a terminal — progress bars, TUIs like vim or htop, colored diffs, spinners — renders correctly. That’s also why the features below exist: search, copy, and reflow all have to work against a real character grid and real scrollback, not a plain text log.
Search the scrollback (⌘F)
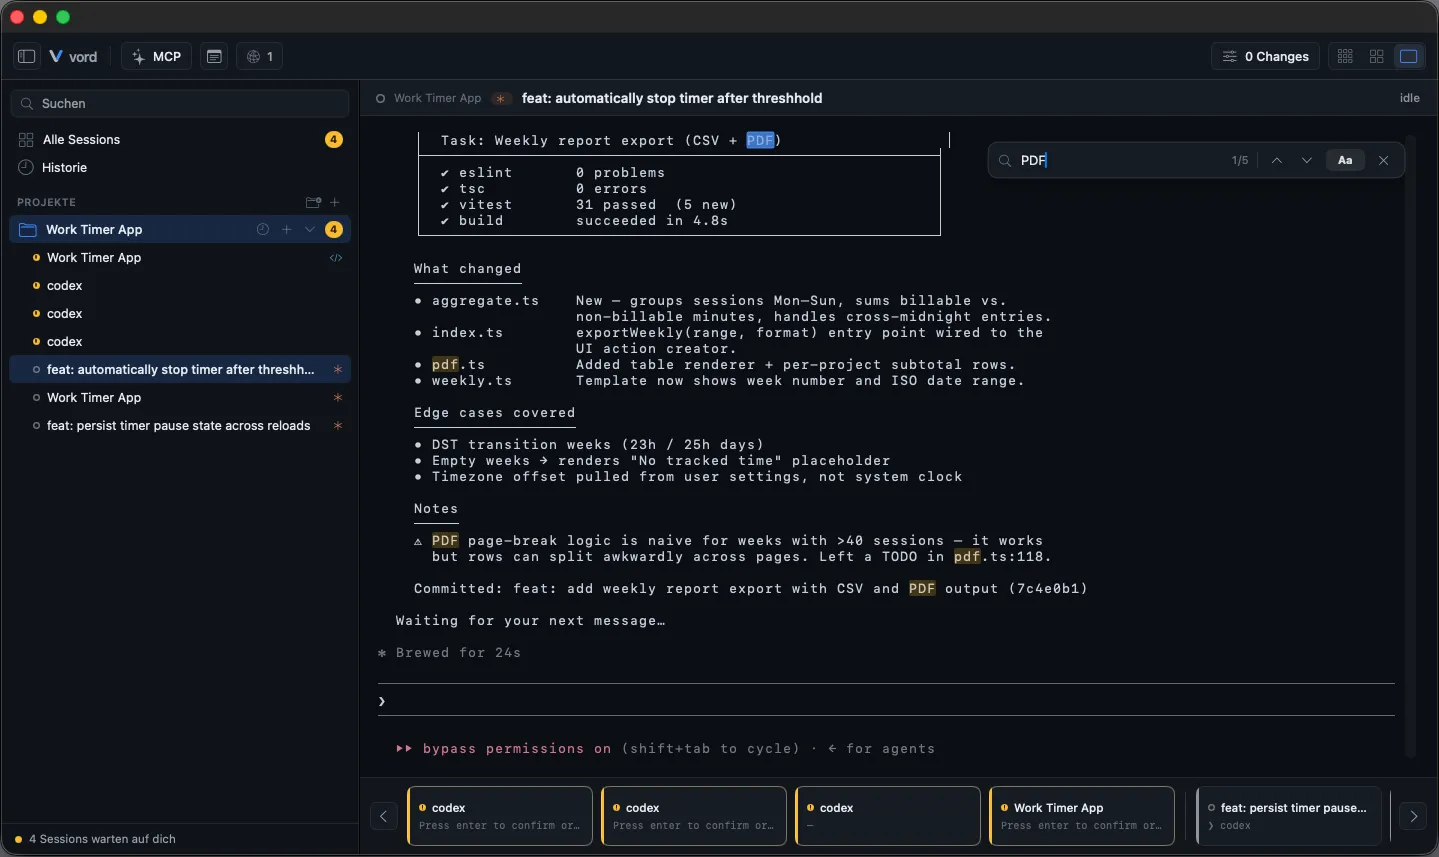
Section titled “Search the scrollback (⌘F)”⌘F opens a slim find bar under the header of the session you have selected — one search per session, not a global search across every tile.
- Select the session, press ⌘F. The find bar opens with the field focused.
- Type your query. Matches highlight live and the bar shows a counter (
3/12). - Press Return / Shift+Return, or the up/down chevrons, to jump to the next/previous match.
- Toggle Aa for case-sensitive matching.
- Press Esc or click the × to close the bar.
New output while the bar is open doesn’t reset your position — matches recompute as the scrollback grows, without snapping back to the first result.
⌘F is rebindable from Settings → Workspace → Shortcuts (action “Find in terminal”).
Copying (⌘C) and the hover copy button on code blocks
Section titled “Copying (⌘C) and the hover copy button on code blocks”Select text in the terminal and press ⌘C, and you get exactly the characters that are on screen:
- Real line breaks stay line breaks — tables, code indentation and blank lines paste back unchanged.
- Lines the terminal only broke because the window is narrow come back as one line — no invented break and no inserted space in the middle of a word.
- Trailing blanks are dropped at the end of a line, so a TUI that pads its rows out to the window width doesn’t leave a tail of spaces on every line you paste. Spaces in the middle of a wrapped line are text and stay.
The result never depends on where you started the selection, and nothing is classified as “code” or “prose” behind your back. This holds anywhere in the scrollback, not just on the last screen.
If you do want an agent’s own hard-wrapped paragraphs folded back into one line (claude and codex break their prose at the window width themselves), right-click and choose Copy & join wrapped lines. That’s a heuristic — it can misjudge tables or lists — which is why it’s a deliberate choice and not the default.
Rectangular/column selections (Alt+drag) and full-screen TUIs (alternate screen) use the classic copy path, since a grid of columns isn’t flowing text.
Dragging a selection past the bottom edge of the terminal extends it to the last line (or scrolls further down when you are reading older output); it never jumps to the top of the view.
Full-screen TUIs that handle the mouse themselves (Codex, vim, htop) receive the scroll wheel directly. A trackpad swipe sends one scroll step per line height of finger movement, so a quick flick no longer races through the whole history; a classic mouse wheel moves one step per notch.
Separately, hovering over a recognized code block in the terminal — live or in a replay — shows a small copy button in its top-right corner. Click it to copy that whole block without selecting anything first, the same idea as the copy button in Claude Desktop’s code blocks. The button hides while you scroll and reappears once scrolling stops.
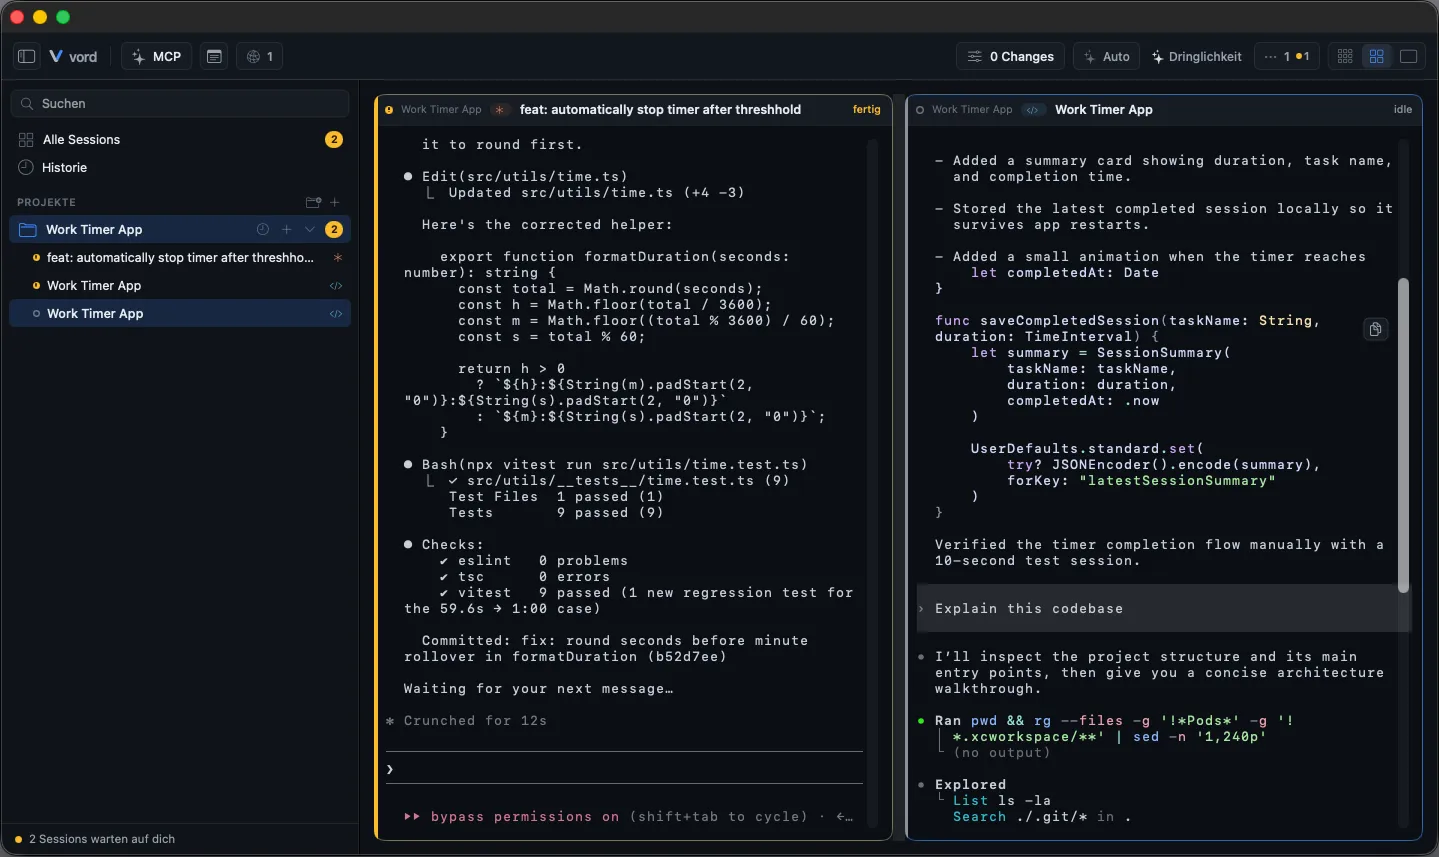
What counts as a block: code an agent wrote into its answer — a shell script, a SQL query, a snippet in any language — including plain command lines like plutil -p … or codesign --verify … that carry no brackets at all. What never counts: the agent’s tool areas (a ⏺ Bash(…) call and its ⎿ output, codex’s • Ran … blocks), diffs, your own typed prompt, and ordinary prose.
An agent normally introduces its code with a sentence on its own message line; the button copies the code below it and leaves the sentence out. Detection stays deliberately cautious, though: when prose and code sit in one unbroken paragraph with no line of their own, vord treats the whole thing as prose and shows no button rather than risk copying half a sentence.
What the button changes about the block: it strips the indentation the whole block shares, so a command pastes flush into a shell, and it drops pure comment lines — a # line breaks an interactive paste in a standard zsh. Everything else is copied as-is. If you want a snippet including its comments, select it and use ⌘C, which never removes anything.
Reflow on resize
Section titled “Reflow on resize”Resize the window or a tile, and the terminal recomputes its line wrapping to match the new column count — both in the scrollback buffer and in what’s drawn on screen, so scrolling up afterward shows correctly re-wrapped text instead of a stale, torn layout from before the resize.
This is automatic; there’s nothing to configure. It only triggers on an actual column change — resizing just the height doesn’t force a re-wrap.
If a tile shrinks while an agent is writing, the terminal keeps its row count until the agent pauses (usually when its turn ends) and shows the bottom part, so the newest lines and your input stay visible. When a tile grows, the terminal uses the new height right away.
While you’re still dragging the window edge, terminals hold their last frame instead of re-wrapping on every mouse tick: text stays anchored to the top-left and newly exposed area stays empty until you let go. That’s deliberate. Re-wrapping a full scrollback sixty times a second — for every visible tile at once — is what used to turn a window drag into a slideshow. Nothing is lost while the picture is held: output that arrives mid-drag still lands in the scrollback, and releasing the edge redraws every tile completely at the final width.
The Transcript view: re-wrapping text at any width
Section titled “The Transcript view: re-wrapping text at any width”Agent sessions in the Focus view — claude, codex, kimi, grok, OpenCode and muse — have a second view next to the terminal: Transcript. Switch with the small Terminal / Transcript control in the session header, or press ⌘⇧T. The choice is remembered per session, and the terminal stays the default.
The Transcript view doesn’t read the terminal. claude, codex, kimi, grok and muse read the agent’s own session file and lay it out as real text; OpenCode reads its local message store. Either way the text re-wraps cleanly at whatever width the window happens to have, including for messages written hours ago in a narrow pane.
What you see:
- Your prompts and the agent’s answers, with the answers rendered as Markdown (headings, lists, tables, code blocks with syntax highlighting and horizontal scrolling).
- Tool activity as a single muted line — the tool’s name plus a short context line. Never the tool’s output: that’s the bulk of a transcript (single entries reach tens of megabytes) and it stays in the terminal.
- Thinking blocks, collapsed by default, expandable with a click. They only show up when the source actually contains readable text.
- Images you pasted appear as attachments inside your message, each with a small preview. Image attachments with preview work for claude, codex, grok and OpenCode sessions. For kimi, vord shows the preview while its own temporary copy of the pasted image still exists (up to six hours, or until the session ends); afterwards the attachment reads Image no longer available. muse doesn’t record pasted images in its session file, so its transcript shows no attachment. Click a preview to open the image large in vord’s preview, or wherever your file-open setting sends files. Opening an image large keeps a temporary copy, removed when the session is closed and after 24 hours at the latest. The
[Image #N]markers and claude’s own[Image: source: …]note are hidden. If the session file no longer holds the image, the attachment reads Image no longer available. - A day separator between days, and a live activity line at the bottom while the agent is working (the transcript only gets a block once it’s finished, which can take a minute).
The newest stretch of the conversation shows first; a Show earlier messages button above the first entry reveals older ones a batch at a time, and once everything already loaded is on screen the same button pulls the next older page from the session file — both keep your reading position. While you’re reading older messages, new ones appear only after you scroll all the way to the bottom or click the arrow. The button in the bottom-right corner jumps back to the latest message. Text is selectable, and each entry has a Copy item in its right-click menu that puts the whole entry on the clipboard as the agent wrote it (Markdown source included).
The Transcript view is read-only. You answer in the terminal — including permission prompts and questions — so there’s only ever one place that takes input. Switching views doesn’t touch the running session: the terminal, its scrollback, the search bar and the code-block buttons are all exactly as you left them when you switch back.
Shift+Enter for a newline (Kitty protocol)
Section titled “Shift+Enter for a newline (Kitty protocol)”Inside claude or codex, Shift+Enter inserts a newline without submitting, so you can compose a multi-line prompt before sending it. This works because vord reconstructs the missing Kitty keyboard protocol encoding for the Return key — a fix for a gap in the underlying terminal library, not a separate feature toggle. Cmd+Enter is untouched and stays reserved for vord’s own shortcuts.
Colors in agent sessions
Section titled “Colors in agent sessions”vord removes inherited color-suppressing variables (NO_COLOR, NODE_DISABLE_COLORS, CI, FORCE_COLOR=0, CLICOLOR=0, empty COLORTERM; TERM=dumb becomes xterm-256color) from agent sessions. Status detection reads the agent’s styling, e.g. the dimmed placeholder in the input field — without it, scheduled jobs and messages could not be delivered. Shell tiles and SSH keep your environment unchanged. Agent sessions also get their own TMPDIR under ~/Library/Caches/<app>/t, which vord cleans up two days after the session ends.
The terminal bell (live vs. replay)
Section titled “The terminal bell (live vs. replay)”A BEL signal from the process plays the system alert sound — but only in a live terminal. A process-less replay (from History or a cockpit preview) deliberately suppresses the bell, so old BEL bytes stored in a transcript don’t “ding” retroactively just because you scrolled past them. There’s no separate on/off setting; it follows your system alert volume.
Terminal appearance (font, colors, presets)
Section titled “Terminal appearance (font, colors, presets)”Font, size, line height, and color presets are configured once for all terminals in Settings → Workspace → Terminal, not per session. Highlights:
| Setting | What it does |
|---|---|
| Typeface | Any fixed-width font installed on your Mac, plus the bundled JetBrains Mono |
| Size | Point size of terminal text (Cmd +/− also changes it live) |
| Line height | 80–200% of the font’s natural line height |
| Color hex codes | Renders hex colors like #B5474B found in terminal output in their own color |
| Preset | A card gallery of color presets, set separately for light and dark |
The presets are vord (the default island look), Lighter, Classic Black, High Contrast (for accessibility), and Custom (your own background/text/cursor colors via the color pickers). “Reset to vord default” reverts a scheme’s preset.
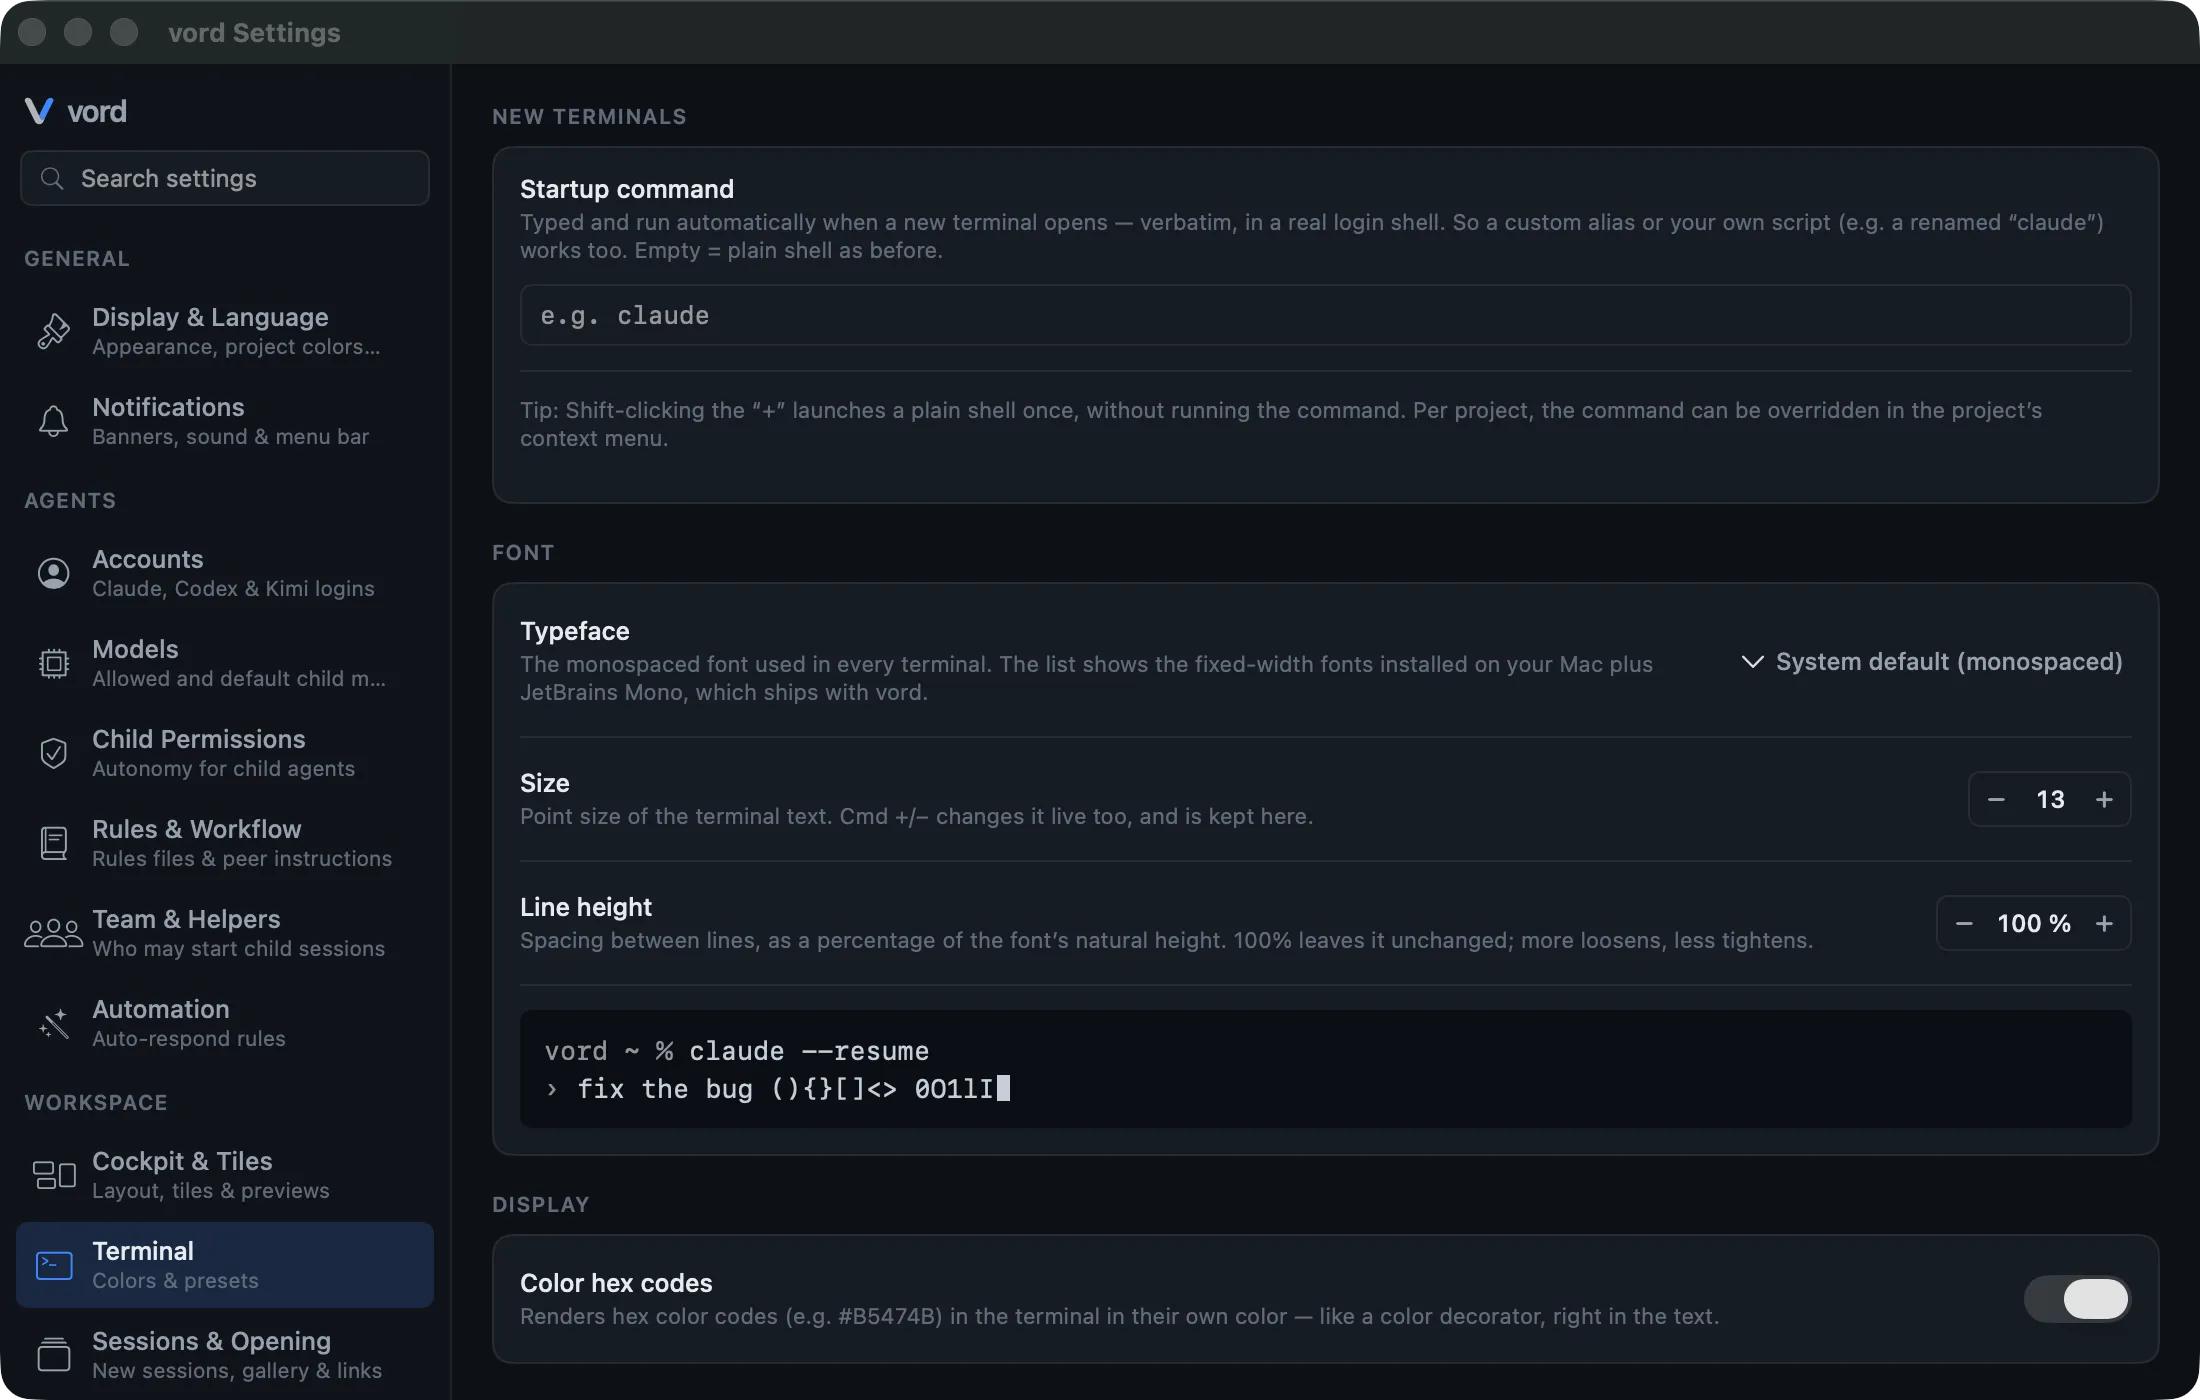
Font choice is global — you can’t set a different typeface for light vs. dark. Full details, including the per-project startup command override, live on the Settings reference; see also Keyboard Shortcuts for rebinding ⌘F and other terminal actions, and Sending Input: Inline Line, Snippets & Paste for getting text and images into the session without leaving this view.